How to Use Your iPhone Microphone for Professional Recordings?
In the age of advanced technology, the iPhone has become more than just a communication device; it’s a powerful tool for creators and professionals alike. One of its hidden gems lies in the quality of its built-in microphone, capable of capturing crisp audio suitable for professional recordings. Whether you’re a musician, podcaster, journalist, or content creator, harnessing the potential of your iPhone microphone singapore can elevate the quality of your work.
1. Choose the Right App:
Selecting the appropriate recording app is crucial for achieving high-quality results. While the native Voice Memos app is convenient, third-party applications like GarageBand or Ferrite Recording Studio offer more advanced features such as multi-track recording, editing capabilities, and customizable settings. Experiment with different apps to find the one that best suits your needs.
2. Invest in External Accessories:
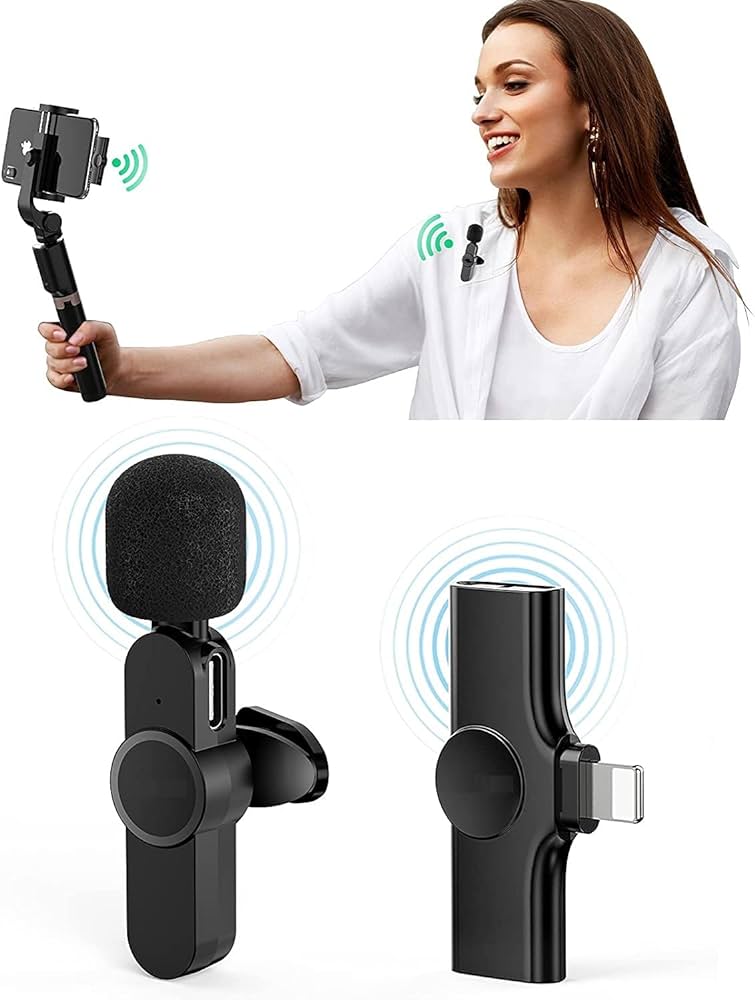
While the iPhone’s built-in microphone singaporeis impressive, investing in external accessories can further enhance your recording experience. Consider purchasing a high-quality external microphone, such as the Shure MV88 or the Rode SmartLav+, to capture clearer and more nuanced audio. Additionally, accessories like pop filters and windshields can help reduce background noise and unwanted interference.
3. Optimize Settings:
Before diving into your recording, take the time to optimize your iPhone’s settings. Ensure that your device is in “Do Not Disturb” mode to prevent interruptions, and disable any unnecessary background apps to free up resources. Adjust the microphone sensitivity and gain settings within your chosen recording app to capture the ideal sound levels without distortion.
4. Control Ambient Noise:
A key challenge in professional recordings is minimizing ambient noise. Choose a quiet and controlled environment for recording, and use soft furnishings or blankets to dampen echoes. If you’re recording outdoors, be mindful of wind noise, and use windshields to protect your microphone from unwanted interference.
5. Experiment with Positions:
The positioning of your iPhone plays a crucial role in capturing the best audio. Experiment with different angles and distances to find the sweet spot for your recording. For interviews or podcasts, consider using a tripod or a stable surface to keep the iPhone steady and at an optimal distance from the source.
6. Edit and Enhance:
After recording, take advantage of the editing features in your chosen app to fine-tune your audio. Trim unwanted sections, adjust volume levels, and apply effects as needed. Many apps offer equalization and compression tools to enhance the overall quality of your recording.
Your iPhone can be a powerful ally in achieving professional-quality recordings. By selecting the right apps, investing in external accessories, optimizing settings, controlling ambient noise, experimenting with positions, and utilizing editing tools, you can unlock the full potential of your iPhone microphone and produce content that stands out in the competitive world of audio production.